Virtual Reality in Your Practice: A Step-by-Step Setup Guide
By Equipo VRET
Integrating virtual reality into your psychology practice doesn't require renovations or technical expertise: you need a standalone headset, a small and safe space, and a way to fit virtual exposure into your usual clinical routine. This guide walks step by step through the equipment, space setup, the first session with the patient, the flow of an exposure session, and the most common mistakes when getting started.
What You Need Before You Start
Integrating virtual reality into your practice rests on three requirements, and only one of them is material. The first is your clinical competence: VR is a route to exposure, so you need to master the logic of graduated exposure and hierarchy-building. The second is case selection: not every patient or presenting problem benefits equally. The third, and the simplest, is the equipment.
On the material side, a standalone virtual reality headset and clinical software with scenarios and a control panel from which to run the session are enough. You don't need a powerful computer or a dedicated room. The full breakdown of models, space, and cost is in our comparison of VR headsets for clinical practice.
If you're still unsure what it's clinically useful for, it's worth reading what virtual reality exposure therapy is first, which summarizes indications and evidence.
Choose Your First Cases Carefully
How well virtual reality works in your practice during the first few weeks depends a great deal on whom you choose to start with. The best initial candidates are patients with a well-defined specific phobia — heights, animals, flying, or enclosed spaces — who are motivated, have no significant associated pathology, and have none of the known relative contraindications (photosensitive epilepsy, advanced pregnancy, vertigo, or migraine with aura). You can browse the available exposure scenarios in our scenario library.
Avoid starting out with complex cases, significant comorbidity, or patients who are very skeptical about the technology. Starting with clear-cut cases lets you consolidate the technique, build confidence, and accumulate a couple of good results that later make it easier to propose VR to more difficult profiles.
Once you have the technique down, the range widens to social anxiety disorder, panic disorder with agoraphobia, and, with more experience and caution, trauma work.
Prepare Your Practice's Physical Space
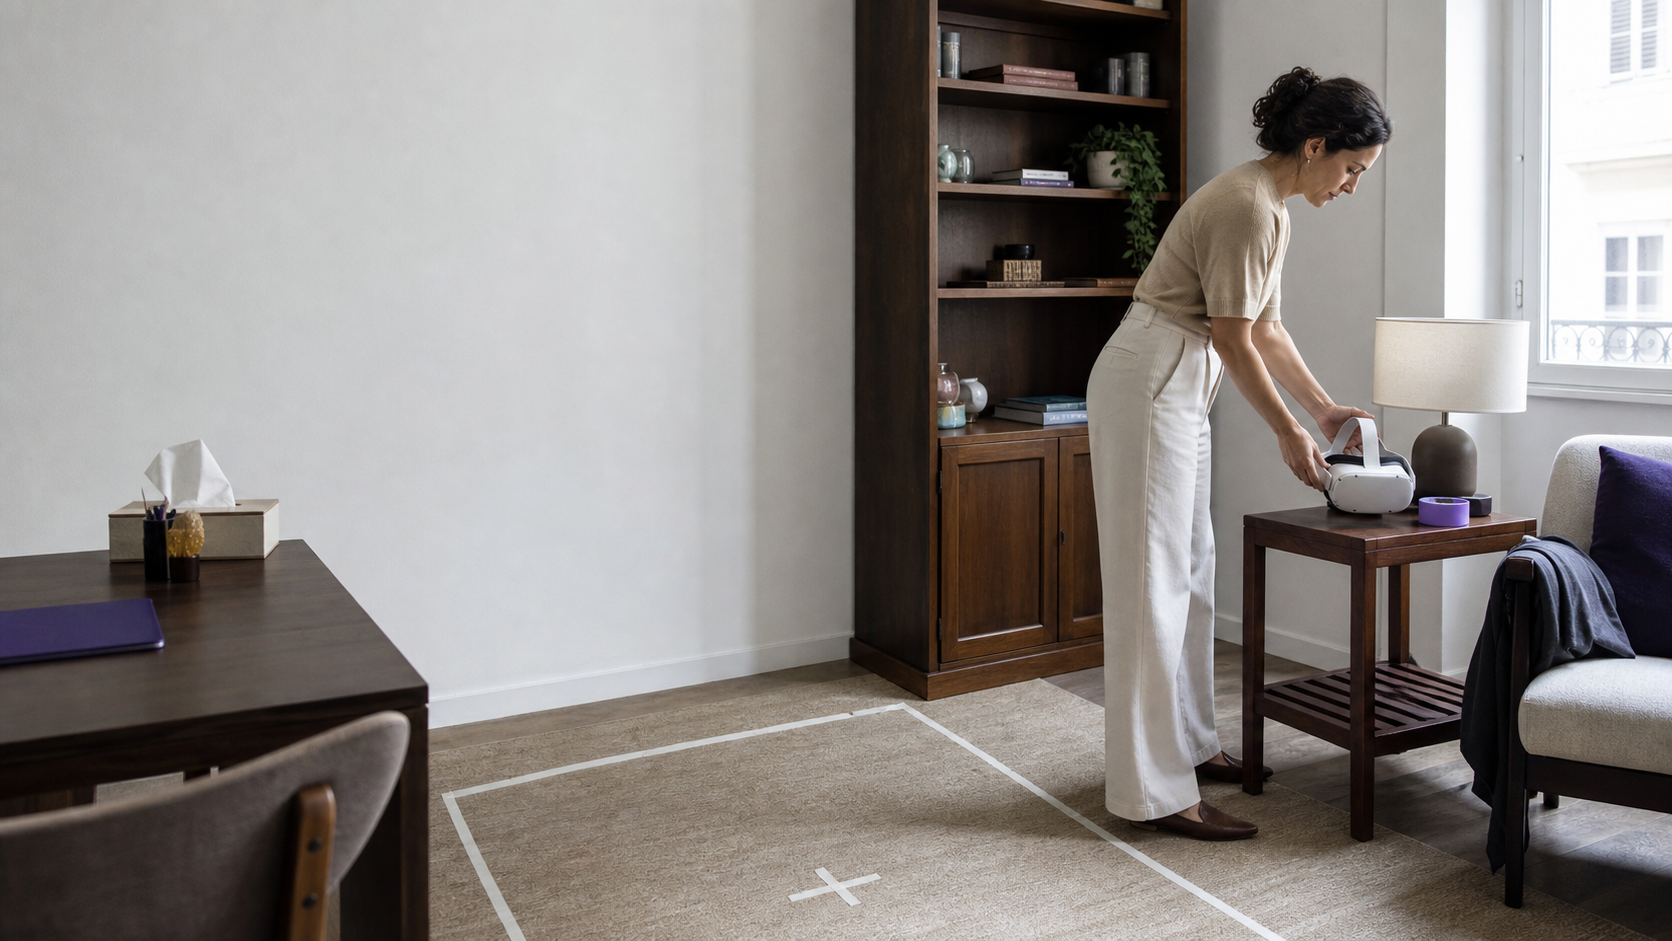
Virtual reality in the practice needs very little space, but that space has to be safe. Set aside a clear area of roughly two by two meters around the patient's chair, free of tables with sharp corners, floor lamps, or cables at arm height.
Most clinical exposures are done with the patient seated, which reduces the risk of falls and dizziness. Even so, mentally mark (or use a rug to mark) the movement zone, and keep the headset charged and clean between patients: dedicated wipes for the facial interface are part of basic hygiene.
Also pay attention to lighting and temperature. Soft natural light and a well-ventilated room help prevent simulator sickness and make the experience more comfortable.

Getting Started: The First Session With the Patient
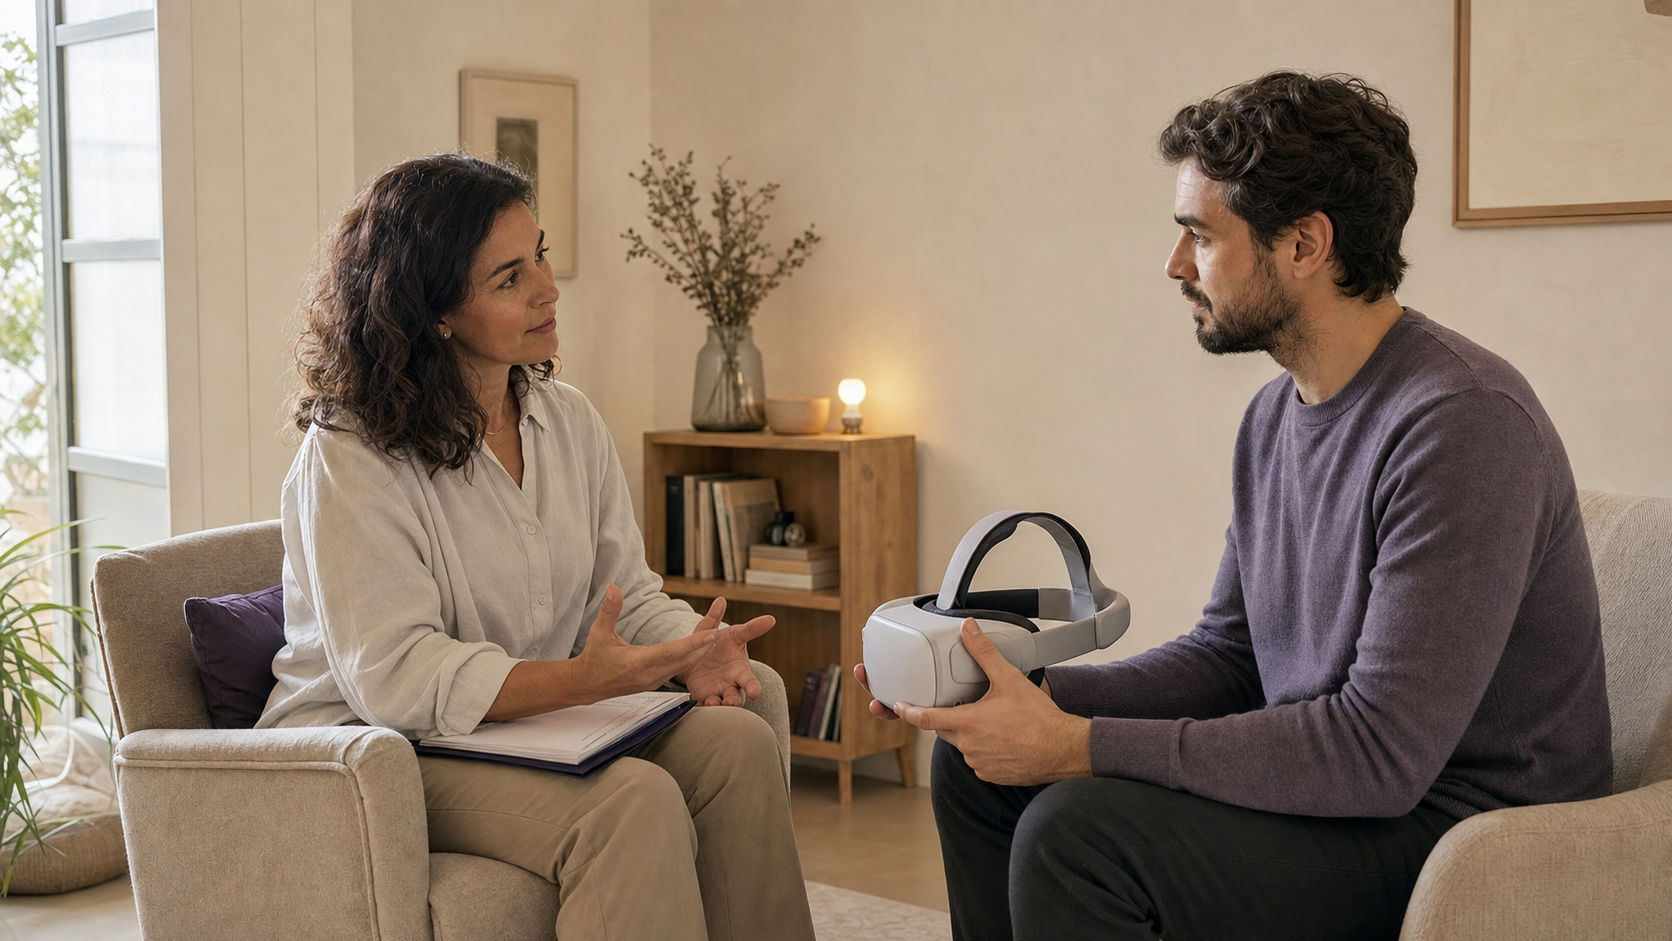
The first session isn't an exposure yet: it's an introductory contact. Explain to the patient what they're going to see, what it's for, and that they are in control at all times, including the ability to stop the scene instantly. Collect their informed consent as you would for any intervention.
After that, a short one- to two-minute trial with a neutral scenario is worthwhile, so the patient gets used to the headset and you can rule out motion sensitivity. If mild simulator sickness appears, simply shorten the duration and space out the following exposures; if it's intense, the indication should be reconsidered.
This onboarding session builds trust and reduces dropout. Many patients who feared the exposure relax once they see that the environment is safe and that the pace is set together. Spending time on this introductory contact isn't wasted time: it's the best investment for later exposures to flow without surprises and for the patient to cooperate with motivation. You'll find a detailed script in our first-session protocol: acclimation and closing.
The Flow of an Exposure Session
Once the introductory contact is behind you, the virtual reality workflow in the practice mirrors that of a classic exposure session. You agree on the session's goal, select the scenario that matches the hierarchy level, and begin the exposure.
During the scene, record subjective units of distress (SUDS) at regular intervals and adjust the intensity from the panel: you can raise or lower a parameter, pause and resume, or repeat the step until habituation occurs. Always close with a debrief on what was worked on and the homework for the next session.
Continuous tracking gives you an objective habituation curve that documents progress and guides planning — something difficult to obtain with imaginal exposure.
Between sessions, lean on the data the tool itself generates. Comparing anxiety curves from one week to the next lets you show the patient their progress in a tangible way, reinforce adherence, and make an informed decision about when to move up a level in the hierarchy or when to introduce exposure tasks outside the practice.
Timing: A VR Session vs. a Traditional Session
A common concern is how virtual reality fits into an already tight schedule. In practice, a VR session takes the same 45 to 60 minutes as a standard session; what changes is how that time is allocated internally.
The first few times, you'll spend a few extra minutes putting on the headset and setting up the scenario. Once it becomes routine, that time drops to one or two minutes and the exposure gains density: within the same session you can repeat a step several times or move through two levels of the hierarchy, something unfeasible if you depended on a real-world stimulus.
The net result is usually more effective exposure per session, not less therapy time.
On the scheduling and billing side, many clinicians present the virtual reality exposure session as a specific service within their portfolio, in line with the plans on VRET's pricing page. This helps put a value on the added technical work and recoup the investment in the equipment, always with transparency toward the patient about what it involves.
Common Mistakes and How to Avoid Them
The most common mistake when integrating virtual reality into the practice is skipping the introductory contact and sending the patient straight into a high level of the hierarchy. This translates into excessive anxiety and dropout. Always start at the bottom.
The second mistake is neglecting simulator sickness: sessions that are too long at the start, poor ventilation, or not allowing breaks. If you want to go deeper, we have a guide on simulator sickness in virtual reality and how to prevent it. The third is treating VR as an end in itself and forgetting the step to in vivo exposure when the case allows it.
Avoid these three stumbling blocks, and integrating virtual reality into your practice stops being a project and becomes just another routine in your practice. The learning curve is short: after your first few patients, handling virtual reality in the practice feels as natural as prescribing any other exposure task, with the advantage of an objective record of progress.
To organize the rollout without missing anything, you can lean on our checklist for bringing VR into your practice.
This article is for informational purposes for psychology professionals. It is not clinical advice for any individual case and does not replace the judgment of the licensed psychologist in charge. VRET is professional clinical-support software, not a CE-marked medical device.
Frequently asked questions
How much space do I need to use virtual reality in my practice?
Very little. A clear area of about two by two meters around the chair is enough, since most exposures are done with the patient seated. What matters isn't the size but that the area is free of obstacles and cables.
Do I need a powerful computer in addition to the headset?
No. Today's standalone headsets run the scenarios on their own and are controlled from a tablet or a web panel. You don't need specialized computer equipment or a complex setup.
What is the first session with the patient like?
The first session is an introductory contact: you explain how it works, collect consent, and run a short trial with a neutral scenario so the patient gets familiar with it and you can rule out motion sensitivity. The actual therapeutic exposure begins once the patient is comfortable.
Does a virtual reality session take longer than a regular session?
Not significantly. It takes up the same 45- to 60-minute block. At first you'll spend a few extra minutes on setup; with routine, that time shrinks and is usually recovered as more effective exposure per session.
What do I do if the patient gets dizzy?
Simulator sickness is common and tends to be mild. It's managed by shortening the exposure, ventilating the room, allowing breaks, and being able to stop the scene instantly. If the dizziness is intense or persistent, the indication should be reconsidered.
Keep reading
VRET Referrals: Working with GPs, Psychiatrists, Insurers
How to present VR exposure therapy to referring physicians: a one-page evidence sheet, standardized outcome reports, and a medication-coordination protocol.
Practice managementHow Much to Charge for a VR Exposure Therapy Session
Real VR exposure session pricing in Spanish private practice: €75-130 by city, the typical €20-40 premium over standard fees, and how to justify it to patients.
Practice managementVR Equipment for Your Psychology Practice: What You Need
Everything you need to bring VR into your psychology practice: headset, clinical software, room space, real cost and how the investment pays off.
VRET is professional clinical-support software, not a CE-marked medical device. Clinical supervision remains with the licensed psychologist in charge.